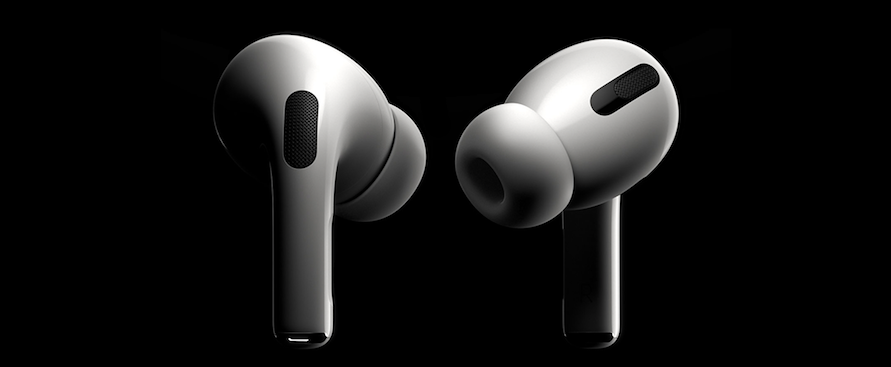
Functions and settings that need to be activated immediately in Apple Wireless Earbuds

We’ve chosen seven practical functions to set up on your AirPods Pro wireless headphones right away for a smoother, more comfortable experience in everyday use. The starting point is the menu that can be accessed by following the path Settings > Bluetooth > Info icon on AirPods Pro.
Keep playing when the headset is removed
The function, which is activated by default based on the proximity sensor, to stop the music when you take off the earphone is not appreciated by everyone, also because you can stop it with a simple touch. But you can easily turn it off from the switch under Auto Ear Detection.
Change the name to AirPods Pro
The first menu item allows you to change the name of your headphones, which not only ensures further customization, but can be useful for speeding up processes when searching for the device to pair via Bluetooth in public places filled with “AirPods Pro of…”.
Disable auto switch forever
Another inconvenient default function is the automatic change of AirPods Pro pairing between various connected devices such as iPhone, iPad or Mac, which often creates unwanted keys. From the settings page (see previous point), just go to Connect to this iPhone/iPad/Mac, and from automatically, choose When last connected to this iPhone/iPad/Mac.
Customize touch-related actions
The small earphone bar includes a sensor that detects different depths of touch. From Settings > Bluetooth > Info icon > Press and hold AirPods (right or left) you can choose what happens when you press and hold one earphone or the other between activating Siri, controlling noise and above all useful (and not otherwise default) Off mode which disables both background noise cancellation and transparent mode in favor of the battery. We remind you that it is also possible to choose the three modes from any linked Apple Watch, through AirPlay.
Even a double tap can be customized with the same action, for example to activate Siri; increase or decrease; Play, pause or stop audio content, or skip to the next or previous track.
Give preference to the microphone on the right or left
By default, automatically and thanks to the Wearable Headset privilege, it is possible to choose from the info page to indicate which microphone to use so that it continues recording even if it is removed from the ear: a useful option if, for example, you want to take advantage of the AirPods as a mini wireless microphone .
sound customization
You can take advantage of the custom audio setting for a more personal touch. First you have to go to Settings > Music > Equalizer by clicking No, then from Settings > Accessibility > Audiovisual contents you can adjust the balance slider and from Settings > Accessibility > Audiovisual contents > Headphone settings > Custom audio setting / Audio setting Custom Just follow the onscreen instructions for your preference. You can also customize the transparency mode from Settings > Accessibility > Audiovisual Content > Headphone Adjustments > Transparency Mode > Custom Transparency Mode.
Turn on your headphones to find it
A great classic: One or both hats are no longer in the house, perhaps buried under clothes or tucked under a couch cushion. From the Where is app, you can tap on the earbuds name and choose Play.

“Web fanatic. Travel scholar. Certified music evangelist. Coffee expert. Unapologetic internet guru. Beer nerd.”


