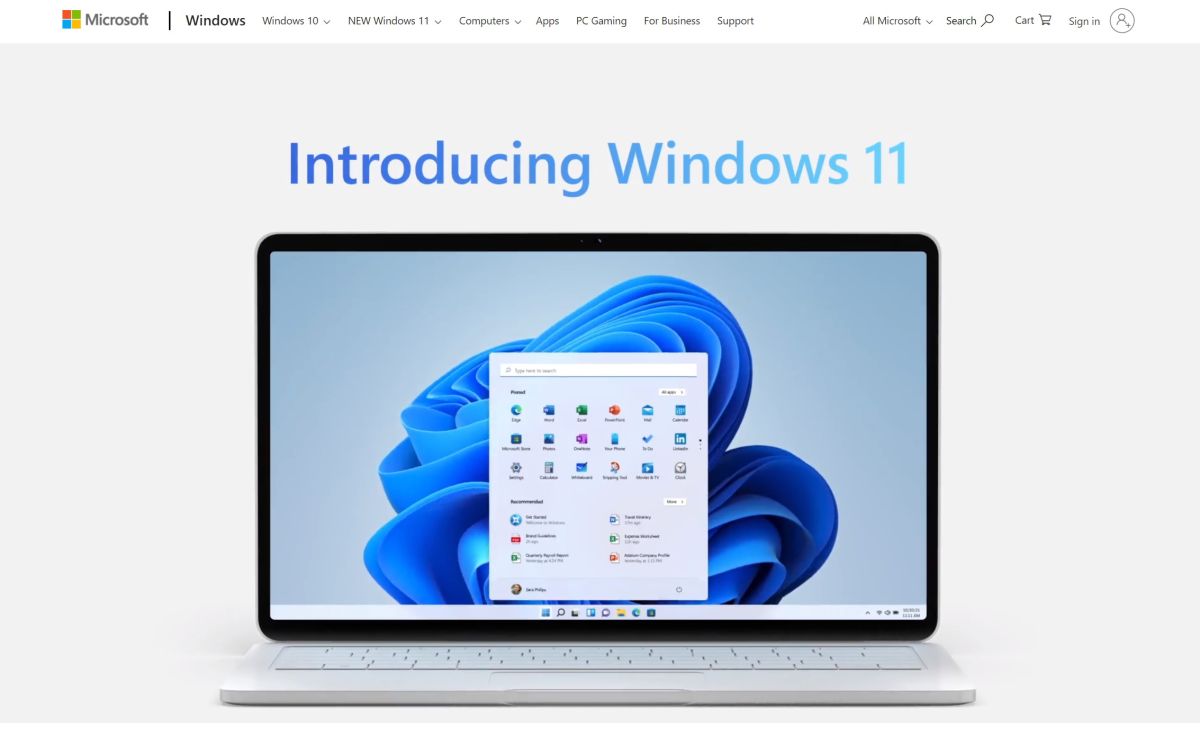
One of the most controversial aspects of Windows 11 is the system requirements to install it. This proves to be particularly rigorous, and requires among other things a TPM 2.0 module.
Although the basic hardware requirements are not fundamentally different from those of Windows 10, Microsoft has chosen not only to not support many processors, but also to limit Windows 11 to computers with the famous TPM 2.0 (Trusted Platform Module) . version 2).
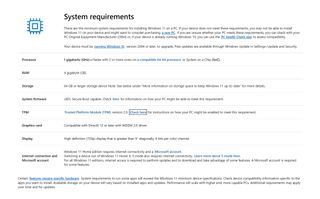
The vast majority of modern computers are equipped with this important security feature, but it is not always activated. If you’re having trouble downloading and installing Windows 11, here’s how to enable TPM 2.0 on your PC. An essential procedure for moving to the final version of the Microsoft operating system.
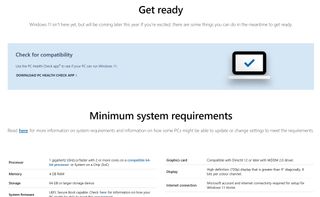
1. Check if there is a TPM 2.0 module on your computer
If you want to install Windows 11, you need a computer with TPM 2.0 technology. You don’t really need to know anything about this other than that it’s a feature that Windows 11 requires.
You can look in your computer or motherboard manual to see if they have TPM 2.0 installed, but good luck confirming or denying its existence from these documents. Fortunately, Microsoft has provided a simple tool that can help you determine whether or not your computer has TPM 2.0 installed. So you should Download the PC Health Check app To perform this test quickly.
2. Use PC Health Check
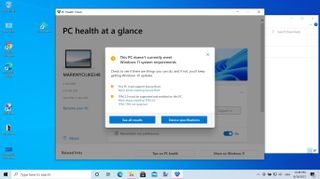
After downloading PC Health Check, launch the application and click the “Check now” button in the “Discover Windows 11” section.
When the application completes its health check of your computer, it will determine whether or not your computer is capable of running Windows 11.
If you click on the “See all results” button, you will get more details about the areas where your computer has passed or failed. This list includes an important TPM 2.0 module reference, which tells you if it is enabled on your device.
3. Check the security of your computer
What can be confusing with TPM 2.0 is that even though your computer has the feature, it may not be enabled. With this scenario in mind, Microsoft has provided guidelines to help you determine whether or not this is the case.
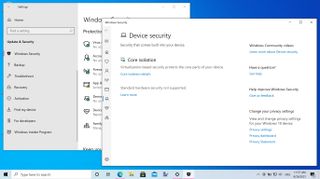
The first method is to open Settings in Windows 10 and go to Update & Security > Windows Security > Device Security.
Look in the “Security Processor” section and make sure that “Spec Version” is labeled as 2.0. If you see a different number, it means that your computer is not compatible with Windows 11. If the “Security Processor” section does not appear, you may just need to enable the feature.
4. Launch the Microsoft Management Console
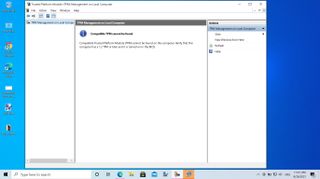
Another way to check if TPM 2.0 is available is to use the Microsoft Management Console. To do this, press the Windows and R keys at the same time to invoke the Run dialog box.
Enters tpm.msc and press Enter. If you see a message telling you that the TPM is available and ready to use, but the “Specification Version” under “Manufacturer Information” is less than 2.0, you’re in luck.
However, if you see the message “Cannot find compatible TPM”, it is possible that your computer has a defective TPM.
5. Enter BIOS
If you are lucky enough to have a compatible TPM, the next step is to activate it.
To do this, you need to access the UEFI BIOS on your computer; The exact method of accessing, planning, and crafting varies slightly from one computer manufacturer to another.
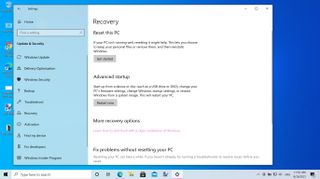
However, Windows 10 provides an easy way to achieve this. Open Settings and go to Update & Security > Recovery. Click the “Restart now” button under the “Advanced startup” heading.

6. Go to the Troubleshooting section
When your computer restarts, select the “Troubleshoot” option and then “Advanced Options”. You will then need to select “UEFI Firmware Settings” > “Reboot” before searching for a submenu in the UEFI BIOS titled “Advanced”, “Security” or “Trusted Computing”; The latter varies from computer to computer depending on the manufacturer.
The setting you need to change or enable next might be called Security Device, Security Device Support, TPM State, AMD fTPM switch, AMD PSP fTPM, Intel PTT, or Intel Platform Trust Technology.
7. Do a thorough check
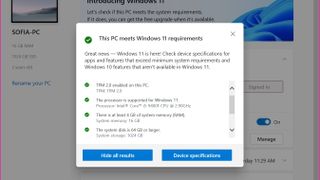
After taking this action, you can run the PC Integration Tool again to make sure that your PC is now considered compatible.
Restart Windows 10 and run the tool again. Assuming you have successfully activated TPM 2.0 on your system, you will see a message telling you this fact and confirming that “This computer meets the requirements for Windows 11You can now upgrade to Windows 11, but don’t lose heart if you aren’t able to manually activate TPM 2.0 – you might not be all but lost yet.
8. Update the motherboard
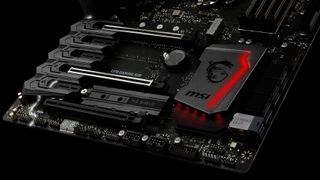
Some motherboard and PC manufacturers have released BIOS updates that will enable TPM 2.0 on systems that have this feature.
While it’s not a fundamentally incompatible option with Windows 11, it’s a great alternative to consider BIOS settings, especially for those who aren’t comfortable with the technical side of their PC.
Many motherboards come with updated software that can be used to check for updates, and it is also worth checking the website of the respective company to see if there is anything to download. Asus, for example, offers updates to enable TPM 2.0.

“Certified gamer. Problem solver. Internet enthusiast. Twitter scholar. Infuriatingly humble alcohol geek. Tv guru.”

