

The document printing tool par excellence, printers are almost indispensable in workspaces. While some workspaces have only a few units, larger environments have them Complete set of printers. Perhaps the multiplicity of printers in your work environment is what makes you want to set one as the default printer, or just for convenience. Be that as it may, in this tutorial we show you how to do it. To set the printer of your choice as the default printer.
Possibility 1: Go through the parameters
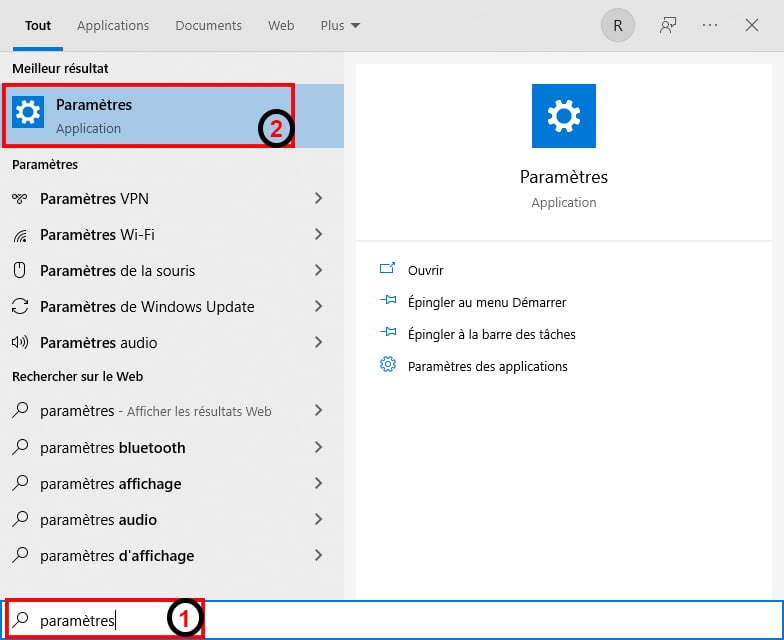
- This first way to work mainly depends on Windows Settings. First, you will need to click on the Windows icon in the lower left corner of your screen. Then type “settings” in the search bar.
- Click the PC Settings icon.
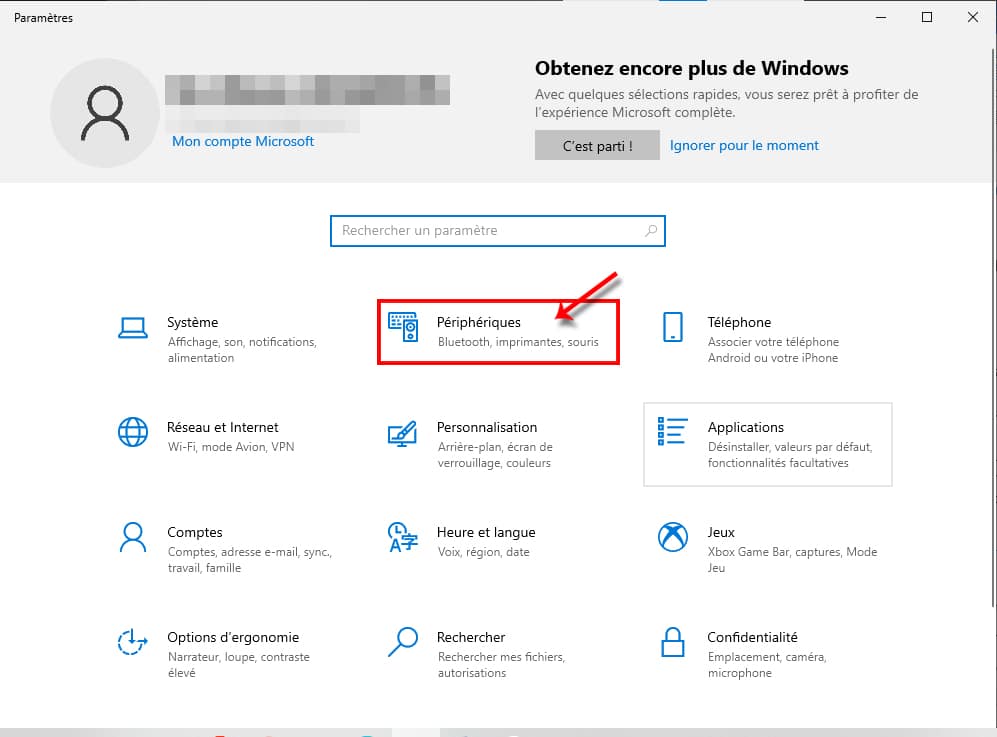
- Once in Settings, please click on Devices.
- At this level, clickPrinters and ScannersTo find yourself in this tab.
- We’ll start by unchecking the “Let Windows manage my printer by default” box.
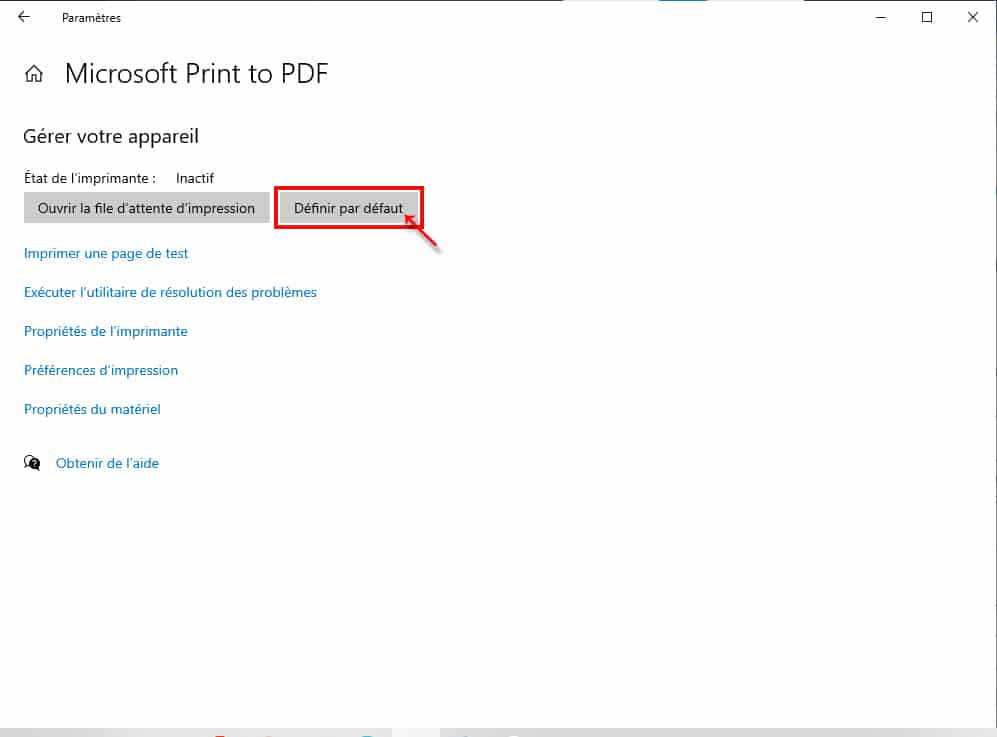
- Next, select and click on the address of the printer that you want to use by default in the proposed list, and then click on the Manage button.
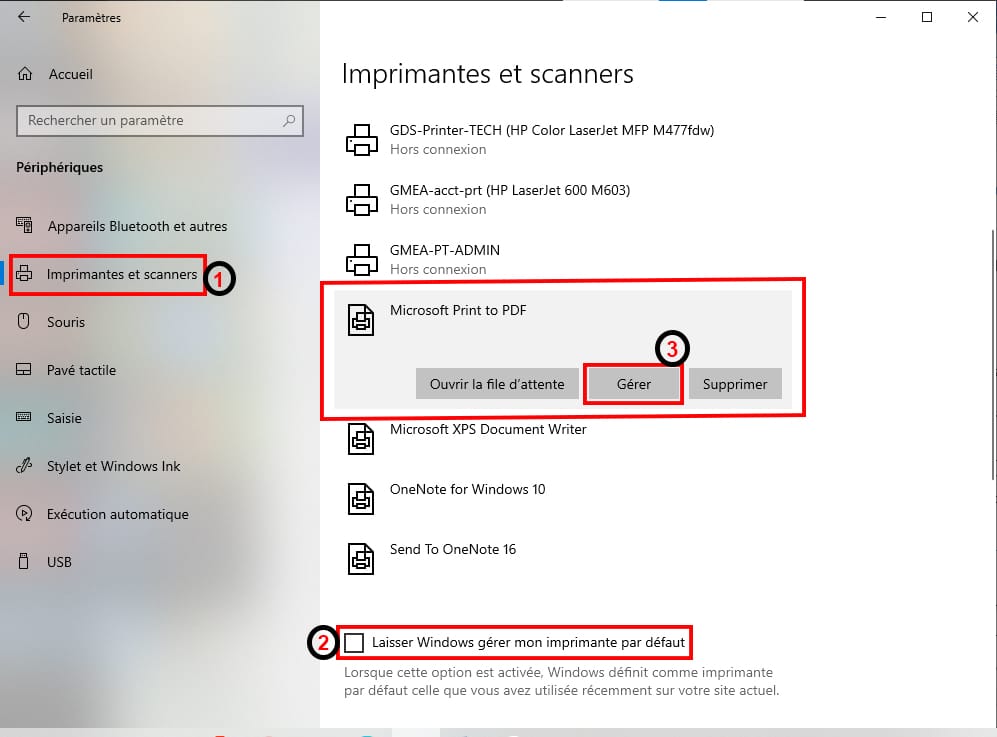
- The reserved partition for said printer will be displayed after the previous procedure. There, just click the “Set as default” button and voila.
Possibility 2: Go through the control panel
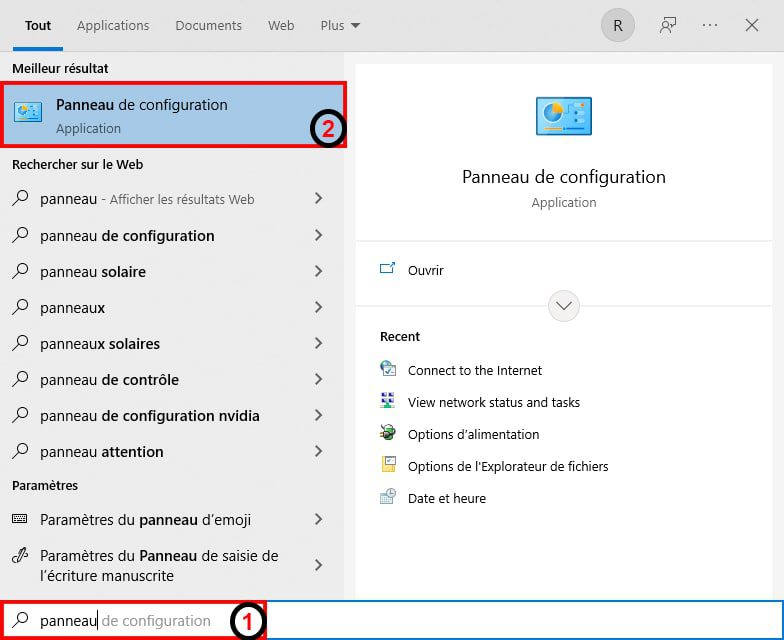
- We’ll start with Access Control Panel By entering this address into the search bar in the Start menu.
- Then click on its icon to open its section.
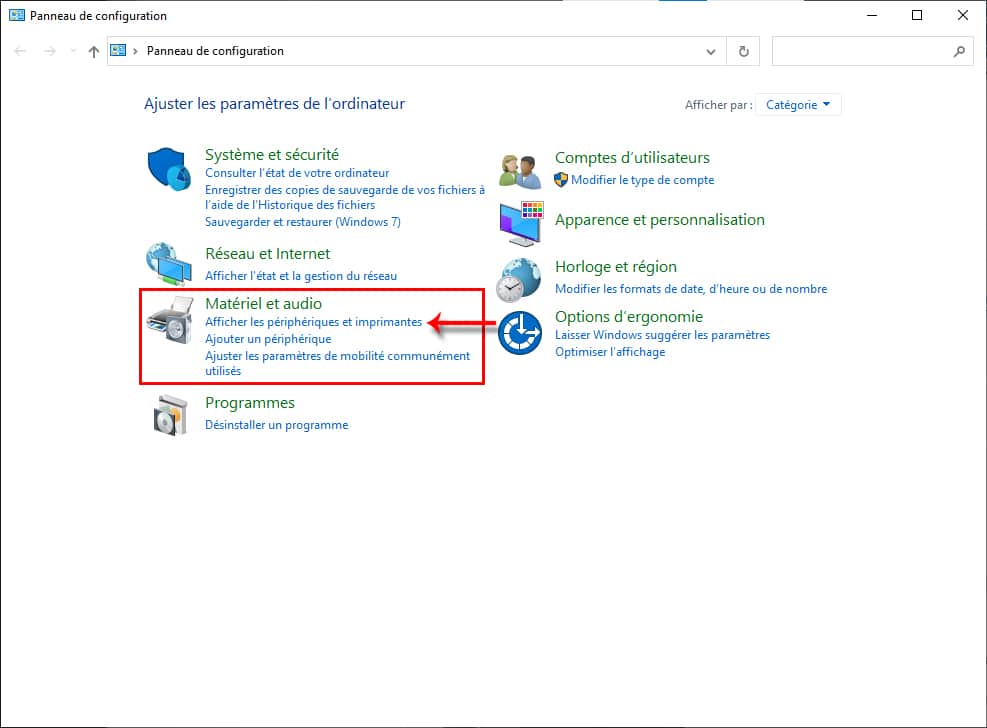
- Find in the “Hardware and Sound” section and click on “Show” Peripherals and PrintersThis action will allow you to access and/or configure the printers on your network panel on your computer.
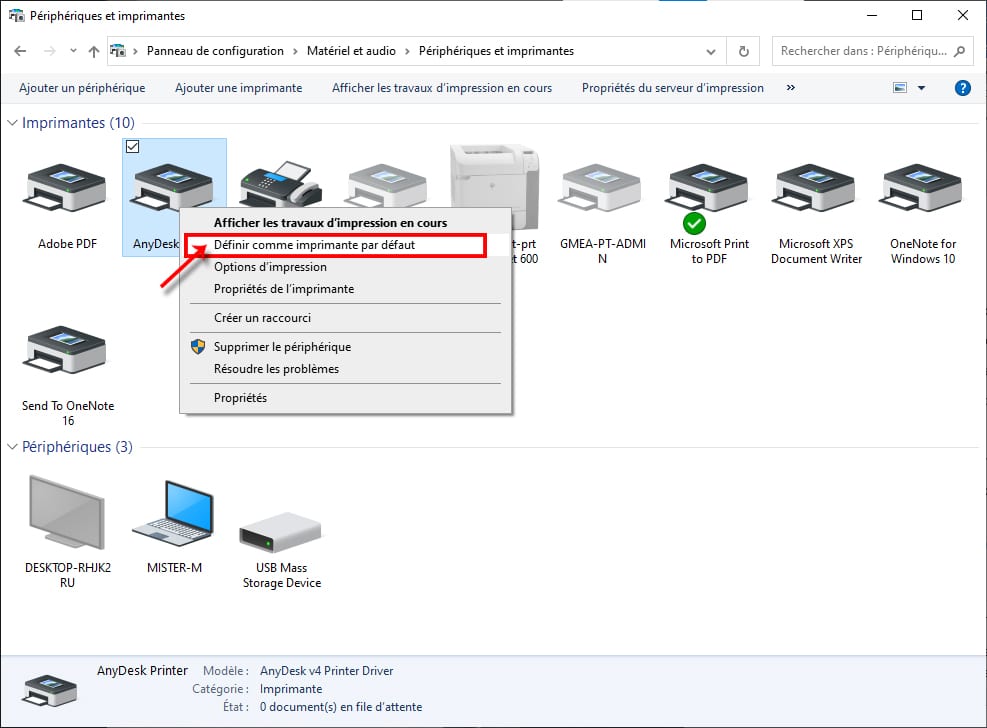
- Select one site to set as default.
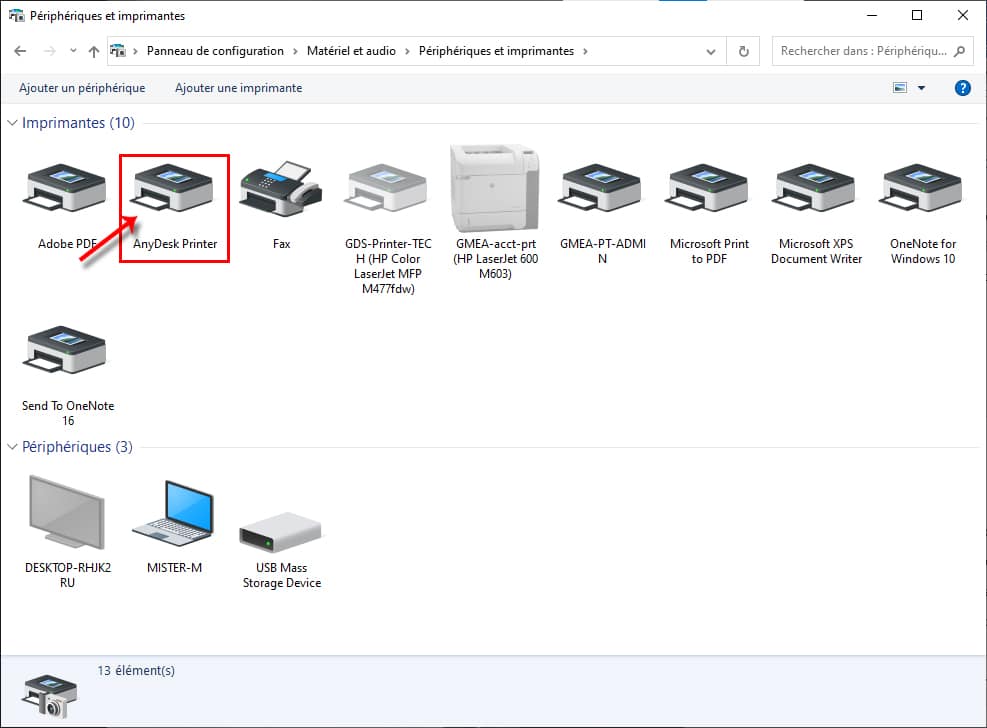
- Right-click on it and choose “Set as default printer” from the popup menu options that appear.
Read also : DISABLED WINDOWS DEFENDER: THE COMPLETE GUIDE
Possibility 3: Browse Notepad
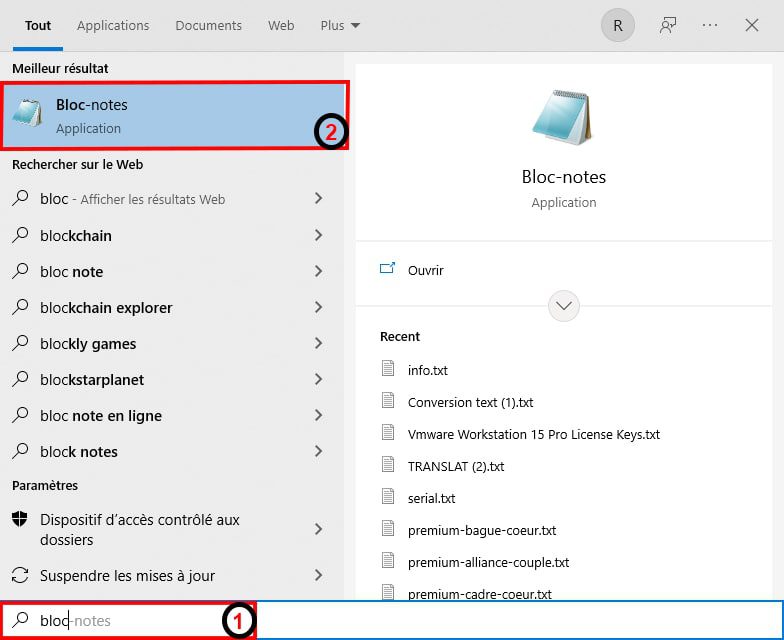
- to pass by Through Notepadit will be accessed first by entering its address into the Start Menu search bar.
- Then click on its icon to open it.
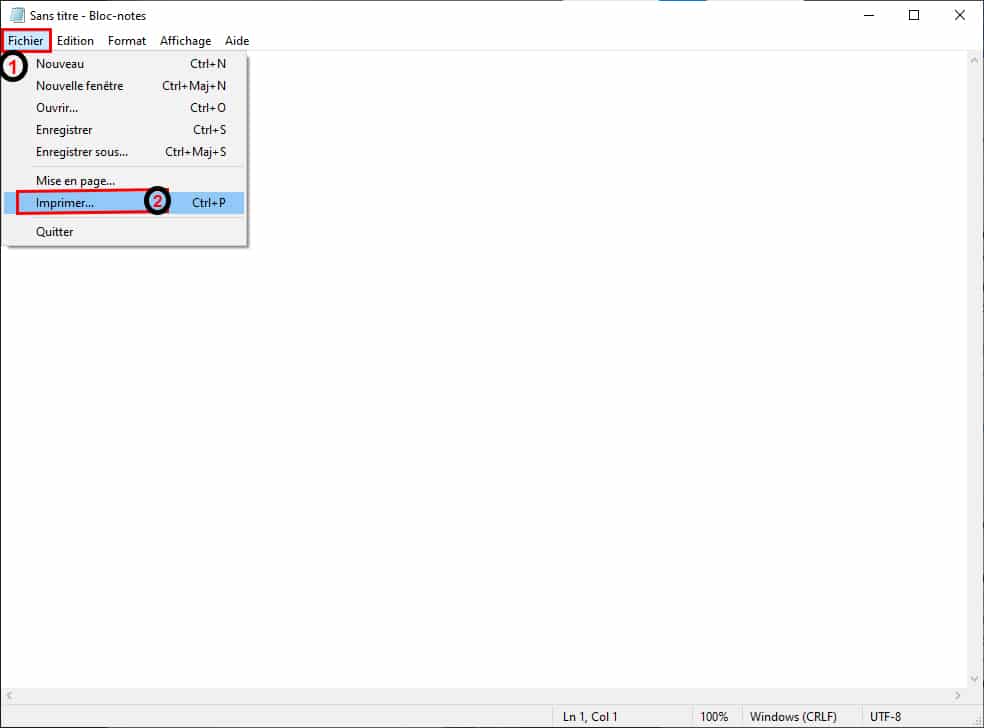
- Now click on the “File” menu.
- Then click “Print”.
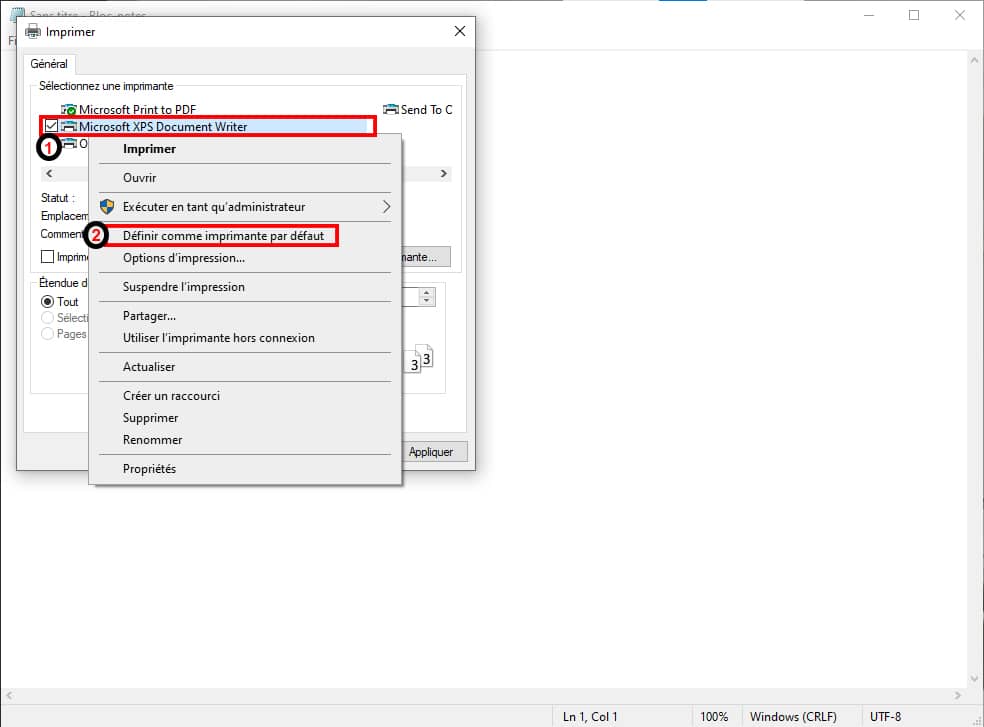
- within Notepad print windowselect the printer of your choice and right-click on it.
- Then click on the “Set as default printer” option.
Possibility 4: Go through Command Prompt
If you want to do it like a pro, we invite you to stick to this last process, although the configuration that will be performed is fairly easy.
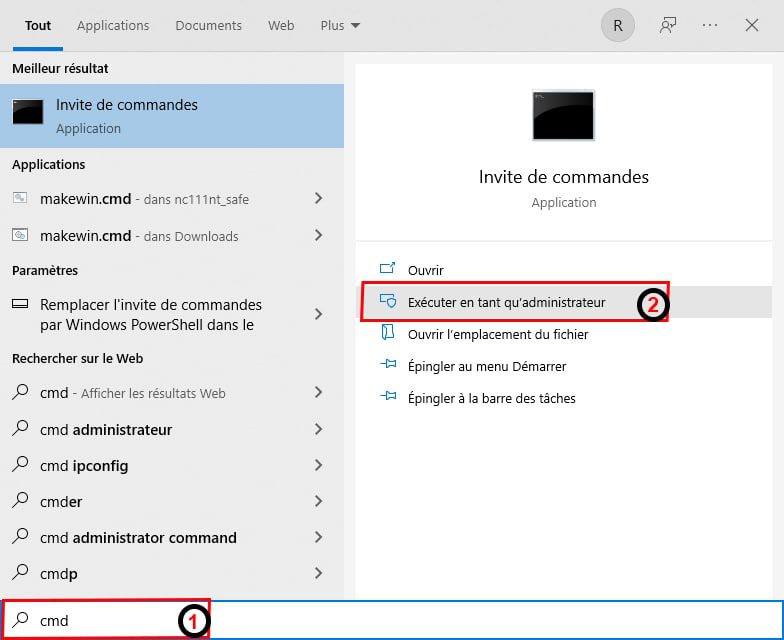
- We will open first Command Prompt as Administrator. To do this, type “cmd” into the Start menu taskbar. The Command Prompt icon will appear as usual.
- This time, you will have to select the “Run as administrator” option by clicking on it. Windows will ask you to confirm your rights before opening a claim in this mode. You will own:
- Either enter the administrator password (if the account from which you are making changes is not an administrator account);
- Or simply click “Yes” in the window that will appear.
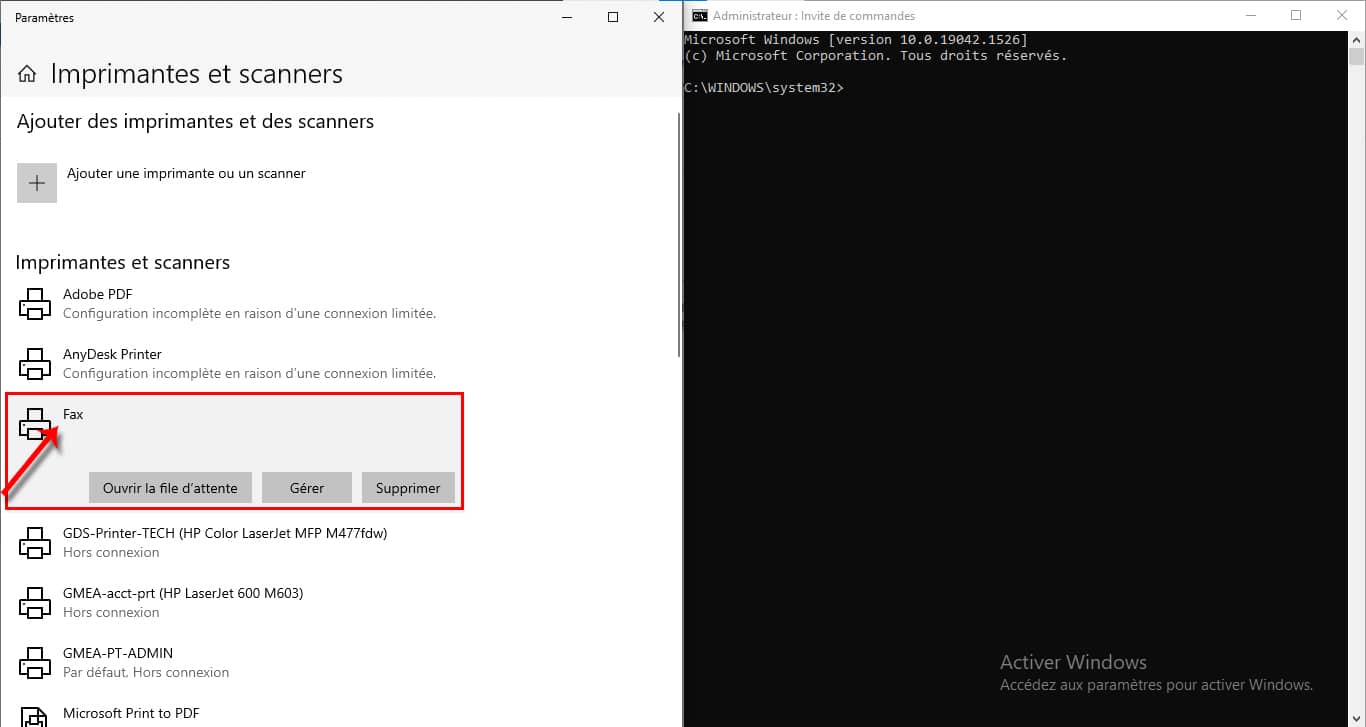
- Once you have the Command Prompt with admin rights, also remember to open the “Printers and Scanners” window and place it next to the Command Prompt. This will help find the name of the printer to set. We will be using the printer named “Fax” for this process.
- Once you’re ready, you’ll need Enter the command the following at the command prompt: rundll32 printui.dll , PrintUIEntry /y /n the name of the printer. Be careful not to misunderstand the printer name; Otherwise, the operation will not succeed.
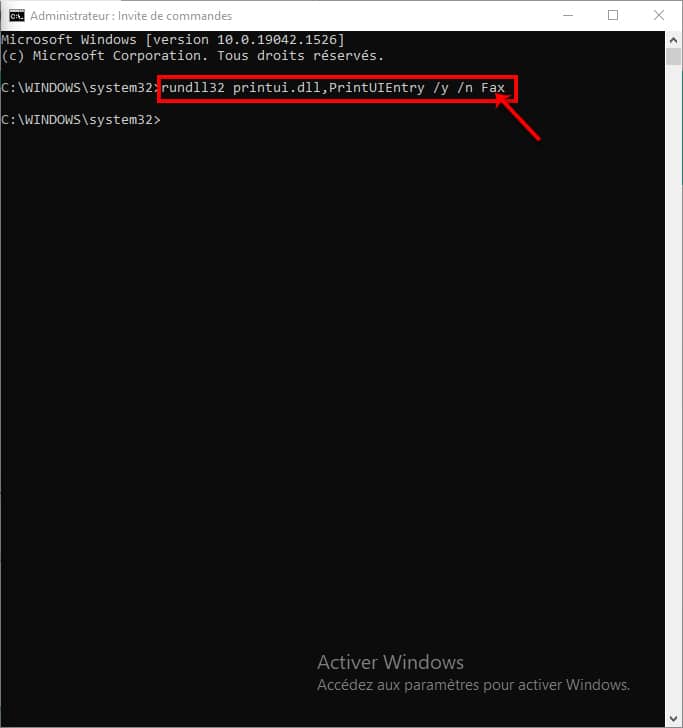
- If you now refresh the Printers and Scanners page, you will notice that the chosen printer is now the one that will be used by default on your computer.


“Certified gamer. Problem solver. Internet enthusiast. Twitter scholar. Infuriatingly humble alcohol geek. Tv guru.”


")